Before a Spray-In Bedliner: Agree on Tie-Down and Mounting-Point Access
Map tie-downs and accessory mounting points before a spray-in liner, then agree removal, masking and reinstallation responsibilities with the shop.
On this page
A new spray-in bedliner should not leave you guessing which cargo anchors still work or how an accessory will attach. Before the truck goes into the spray bay, identify the tie-downs, mounting points and removable brackets that need to remain usable. At handover, check those agreed functions with the installer—not just the color and texture.
This is an owner’s coordination checklist, not a drilling, cutting or anchor-installation procedure. It does not certify a cargo-restraint system. Follow the truck and accessory manufacturers’ instructions, including their load limits, and leave uncertain mounting work to a qualified installer.
Make a hardware map before the appointment
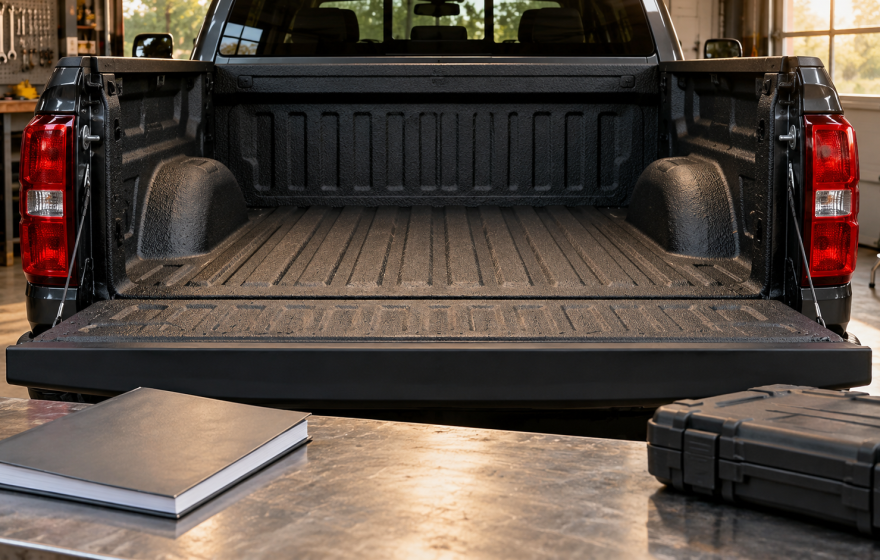
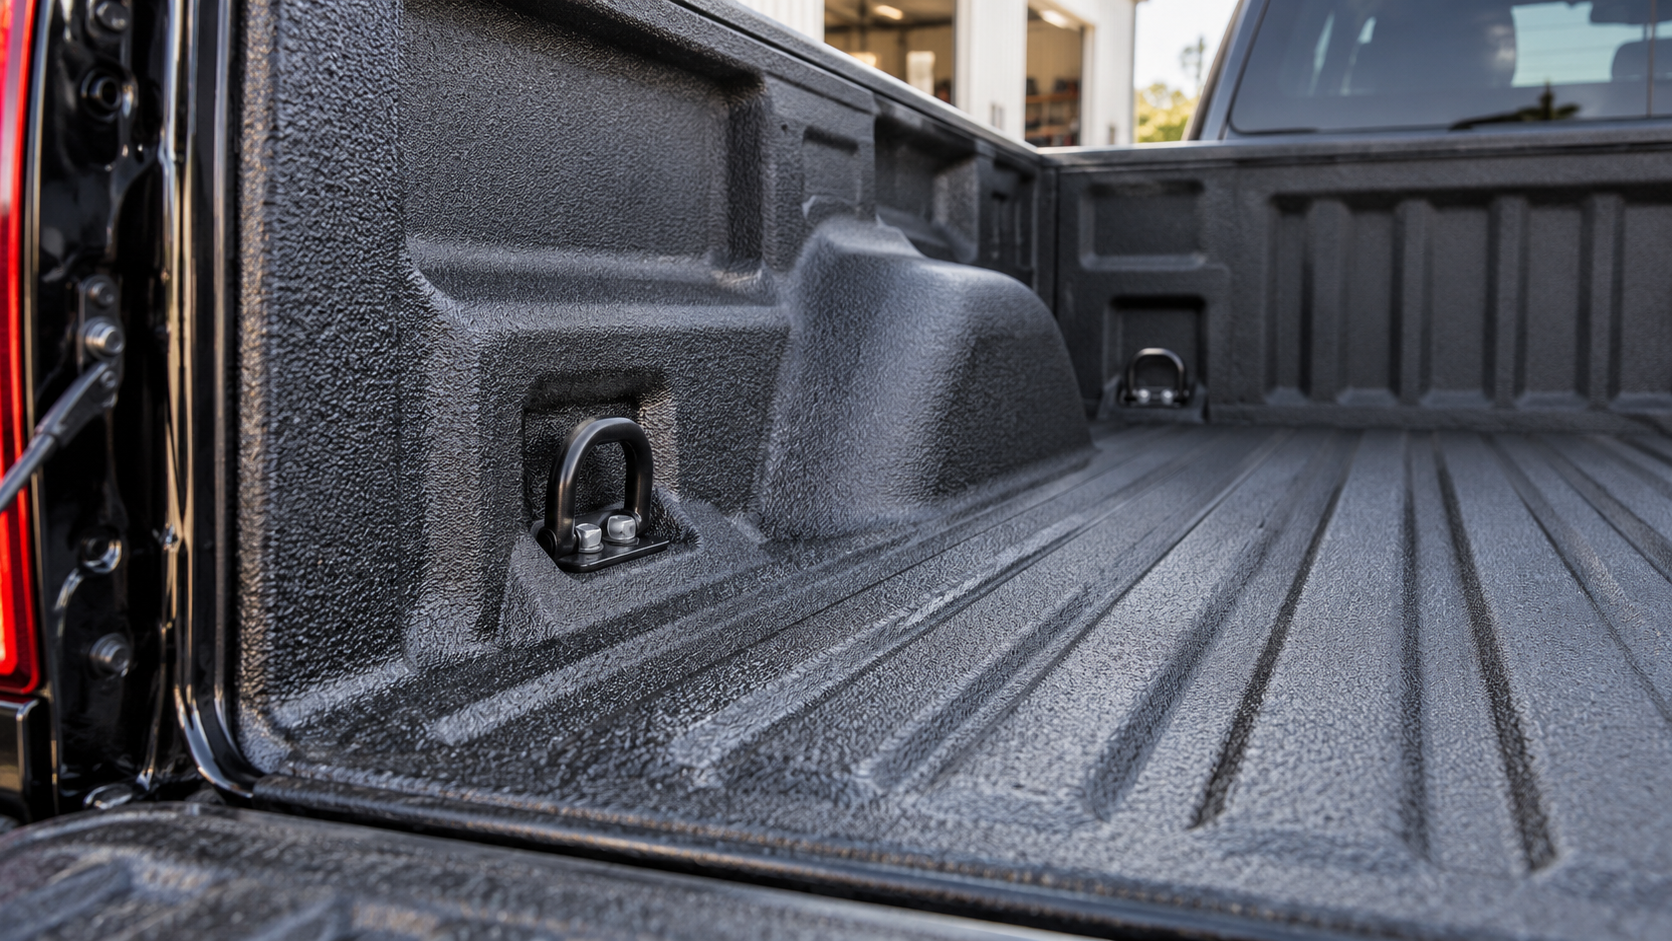
Photograph the empty bed from the tailgate and both sides. Note factory tie-down locations, movable cleats, accessory tracks, threaded mounting points and brackets you intend to keep. Use simple location descriptions so the shop can match a close-up to the overall view.
Add accessories you plan to install later. A drawer system or bedside rack may rely on a mounting point that currently appears unused. Bring its exact part number and fitting instructions instead of asking the shop to anticipate every future attachment.
Separate confirmed hardware from unknown holes or fittings. A hole in the bed is not automatically a suitable cargo anchor. If the truck has previous-owner modifications, ask the vehicle or accessory provider to establish what they are before making a plan around them.
Discuss removal, masking and reinstallation explicitly
Ask which components will be removed and which will stay in place. Have the quote identify who reinstalls them, what instructions govern the work and how any missing or damaged hardware will be handled. Do not assume that a general line reading “bed preparation” answers those questions.
BuiltRight Industries’ installation guidance notes that coating thickness can affect its accessory installation and warns about fasteners fouled by bed coating. It also highlights the risk of damaging a liner when removing coated-in brackets or tie-downs. That is a useful manufacturer example of why the interface matters; it is not permission to modify another company’s mounting system.
Settle the sequence between trades if an accessory shop and coating shop are both involved. Give each the same product information. Ask them to resolve any disagreement about coating beneath brackets or around hardware before the truck is sprayed, rather than leaving the owner to choose a technical detail at collection.
Do not confuse texture with cargo restraint
A textured bed surface and a secured load are different things. The National Highway Traffic Safety Administration’s cargo guidance calls for securing cargo, tying large items to the vehicle or trailer, avoiding excessive loading and double-checking the result. A liner should not replace that work.
Ask where the truck manufacturer’s anchor ratings and usage instructions can be found. Use the applicable restraint equipment and instructions for the particular load. Do not add together several unrelated ratings or assume that a robust-looking bracket is approved for every pull direction.
The liner appointment is a good time to identify any anchor that cannot be assessed, but it is not automatically an anchor-certification service. A shop’s confirmation that a hook can move freely does not establish the condition of hidden structure or the suitability of your future loading arrangement.
Turn the map into a work-order attachment
A photograph shows where a fitting sits. A work-order note explains what is supposed to happen to it. Assign each relevant location a simple identifier—such as left-front factory anchor or right-side accessory bracket—and use that same identifier on the photo and written scope.
For each location, ask the installer to record five things: the component identity, the agreed removal or masking treatment, the person responsible for reinstallation, the governing vehicle or accessory instruction, and any unresolved question. This is a communication record, not a substitute for a technical drawing or installation specification.
Do not fill an unknown entry with a guess just to complete the sheet. If the accessory manufacturer has not answered a fitment question, label the affected work pending. Ask the shops whether that part of the job needs to wait. A clearly identified hold is more useful than an apparently complete checklist built on assumptions.
Separate existing hardware from future accessories
Make two lists. The first covers components already on the truck that the coating appointment may disturb. The second covers equipment you intend to add later. Keeping them separate prevents an installer from being asked to certify an accessory that has not been supplied or identified.
For future equipment, obtain the actual mounting instructions before the coating scope is finalized. Ask the accessory provider which contact surfaces, openings or removable components matter to its installation. Have the coating shop respond to those identified requirements, rather than a vague request to leave the bed “rack ready.”
If your future purchase changes, revisit the plan. A different drawer, rack or bracket may use different locations. Retaining access for one documented product is not a promise that every accessory will fit.
Agree on the exception process before spraying
Ask whom the shop should contact if removal reveals a damaged fastener, unidentified modification or a bracket that cannot be removed as expected. Agree which work can continue and which decisions require your authorization. Request photographs from the service team when the affected area will become concealed.
Keep the approved hardware map with the quote and give both trades the same version. At collection, use our separate bedliner handover checklist for return-to-use instructions and completed-function checks. This earlier planning step has a narrower purpose: making removal, coating boundaries and reinstallation responsibilities explicit before they become a finished-job problem.