Picking Up Your Spray-In Bedliner: A Practical Handover Checklist
Picking up a truck after a spray-in bedliner installation is the right time to check more than its appearance. The handover should confirm which product was installed, when the bed can carry your planned load and whether the truck’s fittings and accessories still work properly.
A short walkthrough with the installer gives you a chance to resolve questions while the job is fresh. It also creates a useful starting record if you need maintenance or a repair later. Use this checklist alongside the instructions for your truck, coating and accessories.
Confirm the product and the agreed coverage
Check that the invoice identifies the coating system, any separate topcoat and the areas included in the work. “Spray-in bedliner” describes an application category; it does not identify a particular formulation or its instructions.
Compare the finished job with the quote. Was the agreement for the bed floor, walls and tailgate? Were the rail tops included? Were any fittings supposed to be removed and reinstalled? Ask the shop to explain any change from the original scope and put the explanation on the job record.
If rust treatment, metal repairs or removal of an old liner were part of the job, retain the description and any available progress photographs. A finished coating can hide those surfaces, making the earlier records valuable.
Get a specific return-to-use time
Ask when you can load the bed, reinstall accessories and wash the truck. Explain what you intend to carry: an empty toolbox, loose landscaping material and equipment with concentrated contact points pose different practical questions for the installer.
Cure instructions vary. LINE-X’s bedliner FAQ says its liner usually needs about 24 hours to fully cure before hauling gear. In comparison, the RAPTOR U.S. tintable-coating data sheet lists five to seven days through-dry at 68°F and recommends seven days before regular use. It also notes that lower temperatures and higher film build affect drying.
These examples explain why a universal “ready tomorrow” promise is unreliable. Follow the instructions for the actual product and application conditions. Have the shop write down the relevant date and time, including any restrictions for a separate topcoat. Looking dry is not enough to establish readiness for a heavy load.
Walk around the finish without damaging it
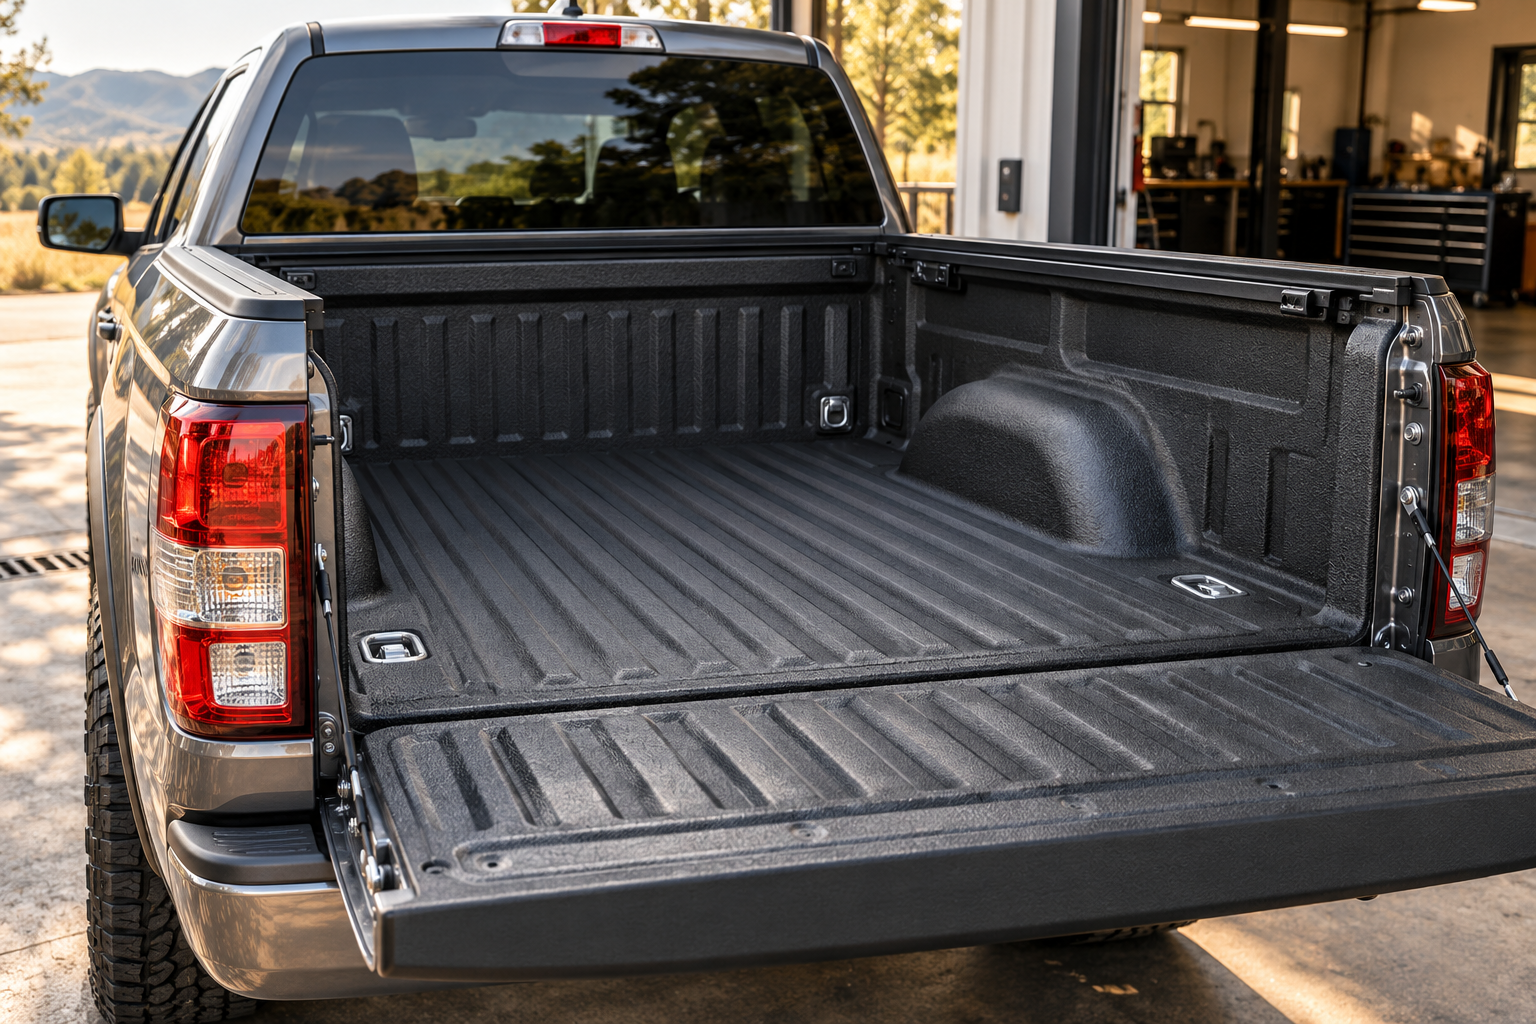
In good light, inspect the accessible floor, walls, wheel housings, corners and tailgate. Look for areas that appear missed, exposed edges, obvious lifting, blisters or overspray outside the agreed boundary. Ask about anything unexpected rather than assuming every texture variation is a defect.
Take a few overall photographs and close-ups of any concern. Include enough surrounding detail to identify the location. Do not cut, scratch, peel or apply solvents to the liner as an improvised quality test. Visual inspection can identify questions, but it cannot independently prove coating thickness or adhesion. Those questions belong with the installer and the system’s inspection procedure.
Check accessory fit and access
Ask the installer to demonstrate that the tailgate opens, closes and latches normally. Check that bed lights, outlets and their covers remain accessible where fitted. Review drain openings and any manufacturer-designated access points with the shop, using the vehicle’s layout rather than assuming every opening should be coated or sealed.
If the truck has a tonneau cover, rack, toolbox or sliding cargo system, confirm how installation was coordinated with the liner. Accessory fit can depend on specific mounting surfaces, brackets and fasteners. For example, BAK’s Ford Ranger rail supplement notes that liner material may need to be cleared from threads before its bracket bolt is installed. That is a model-specific instruction, not permission to scrape coating away wherever an accessory seems tight.
If hardware does not fit, have the installer and accessory supplier resolve it against the correct instructions. Avoid forcing bolts, relocating clamps or drilling new holes to make the assembly work. Establish who is responsible for any adjustment and for protecting affected surfaces afterward.
Verify the cargo attachment points
Identify the tie-downs you will use and ask the installer to demonstrate any removable cleats that were disturbed during the job. They should remain accessible and function as the vehicle manufacturer intended.
The coating does not establish the capacity of a tie-down or replace cargo restraints. Follow your truck’s limits and loading instructions. As one manufacturer example, Ford’s 2024 F-150 anchor-point precautions require properly secured cargo, inspection of anchor points for damage and observance of their load ratings. Use the manual for your own model and equipment.
Leave with the care and warranty details
Collect the invoice, written care instructions and warranty terms that apply to your installation. Ask which cleaning products and methods are approved, how to handle a spill and whom to contact if the liner is damaged. Keep any registration confirmation with the receipt.
Read the coverage rather than relying on a headline such as “lifetime warranty.” Clarify who provides the warranty, which owner and uses it covers, what is excluded and how a claim is made. Accessory-related alterations are worth discussing before they happen.
Before leaving, make a short written list of any unfinished work, the agreed remedy and the next appointment if one is needed. A useful handover ends with a truck whose bed and fittings are understood, a realistic loading date and a clear contact for any remaining concern.
0 comments