Bedliner Repair Estimates: What Photos and Product Records to Gather
Prepare for a bedliner repair estimate with useful photos, installation records, damage history and clear questions about the proposed work.
On this page
A useful bedliner repair estimate starts with a clear record of the truck, the affected areas and the coating already on it. Before contacting an applicator, gather a small set of photographs and the installation paperwork. That gives the shop a better starting point and helps you explain the same job consistently when comparing responses.
Photos support an initial conversation. They cannot reveal everything underneath the coating or establish why it changed. Expect the shop to explain what it can assess remotely and what needs an in-person inspection.
1. Photograph the whole bed before the close-ups
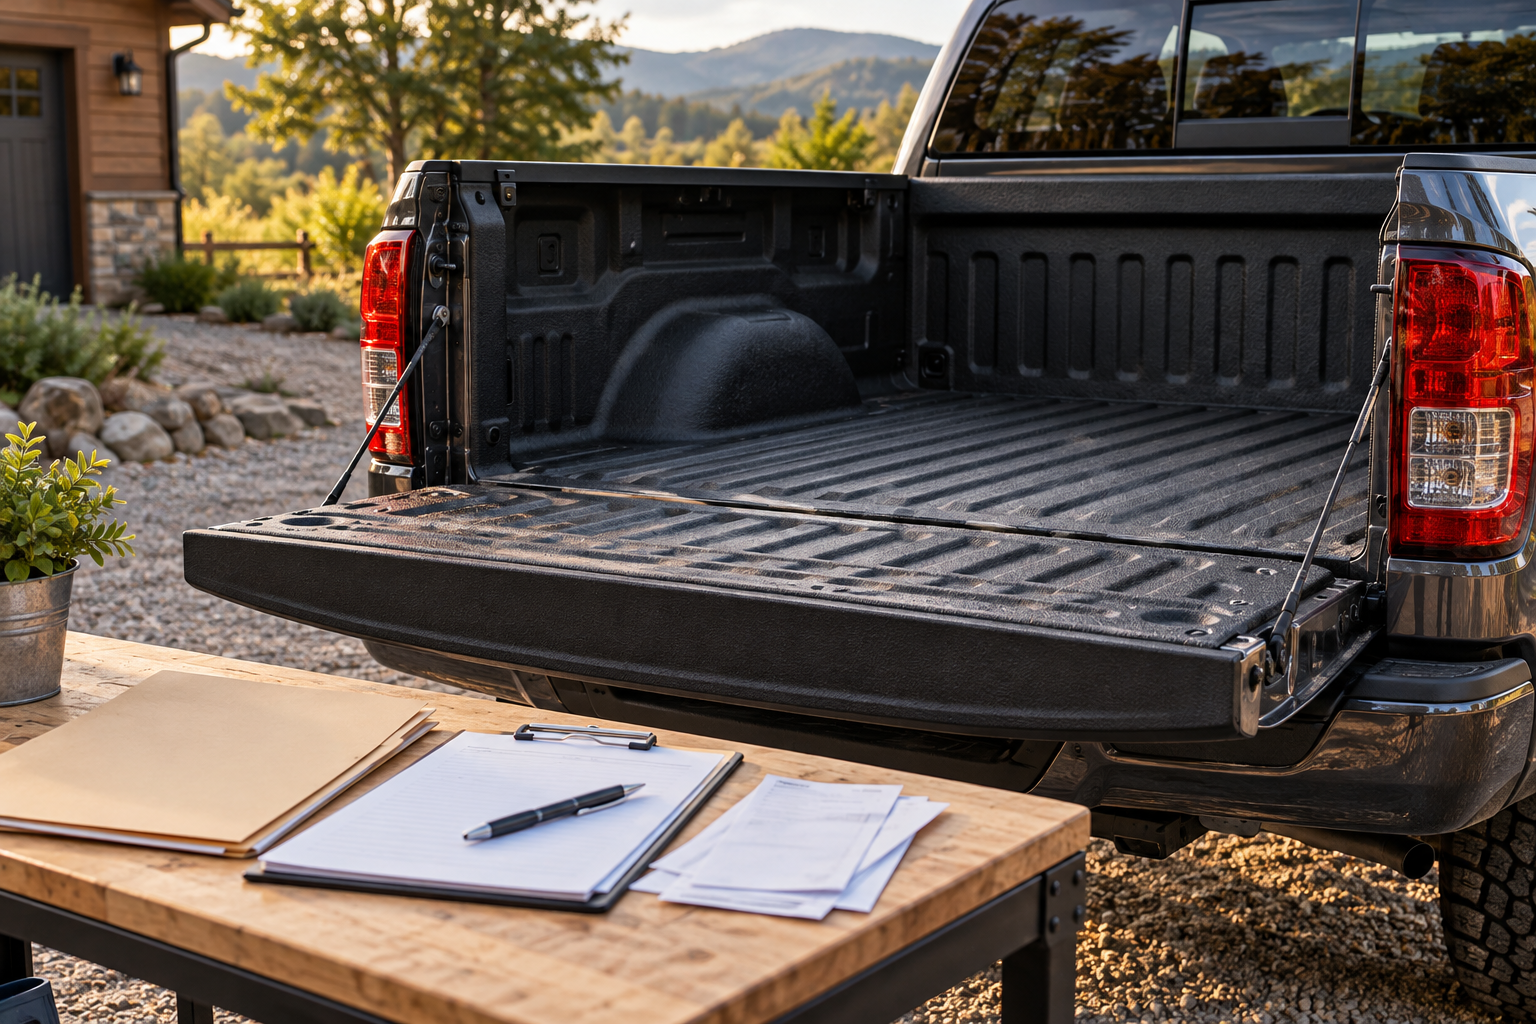
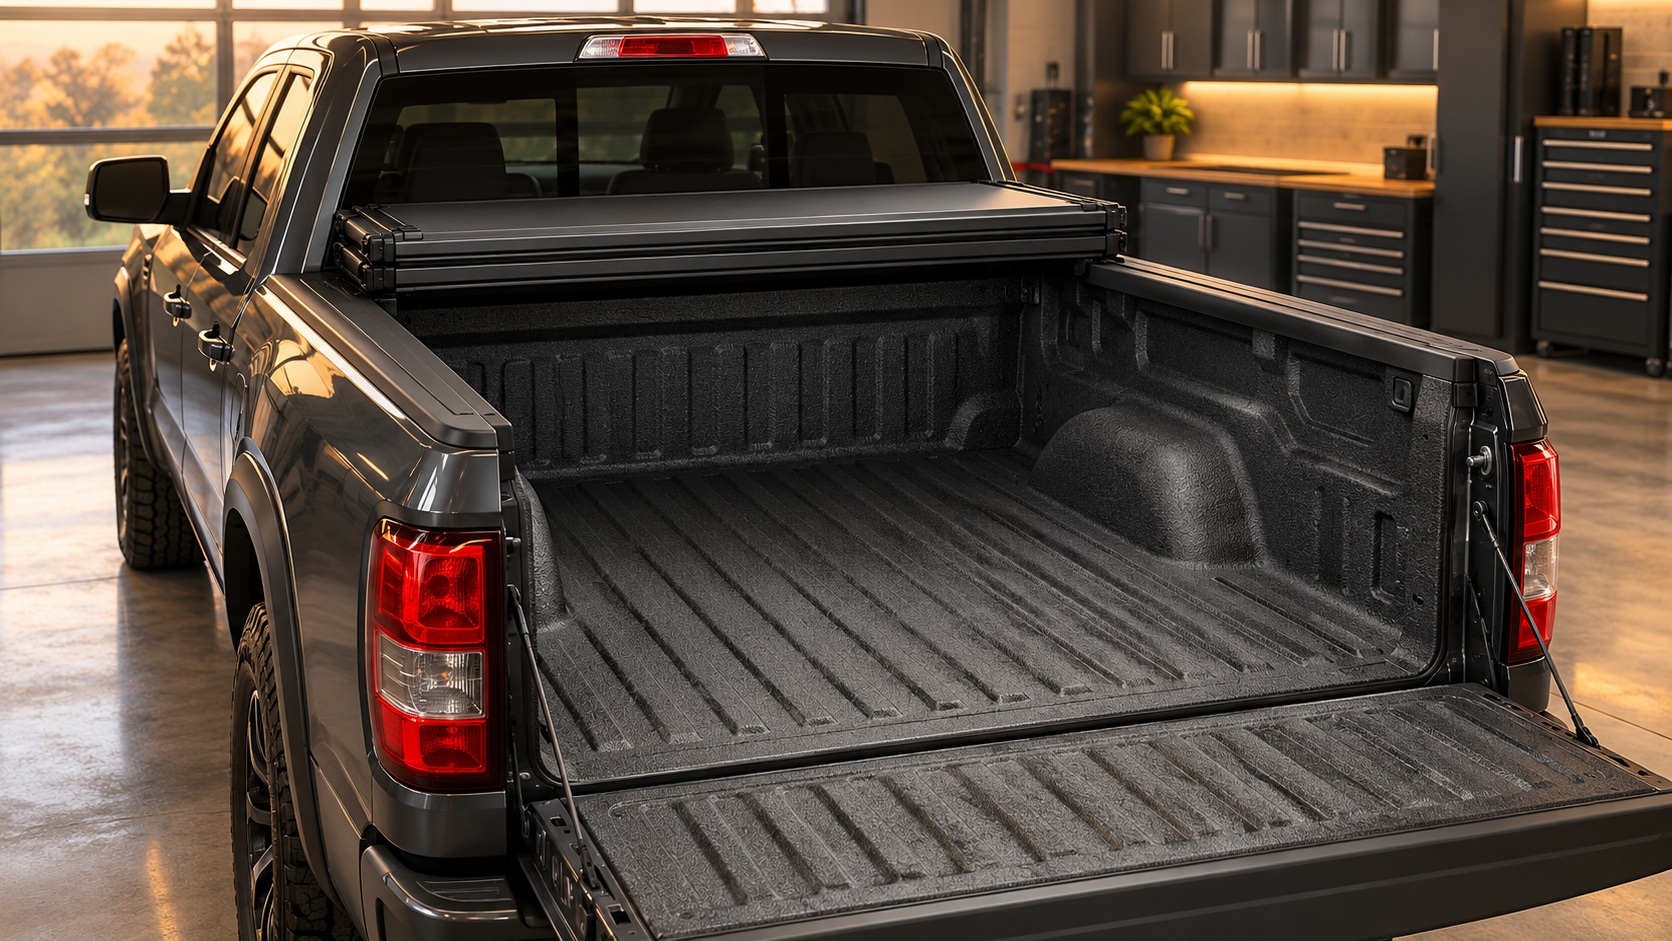
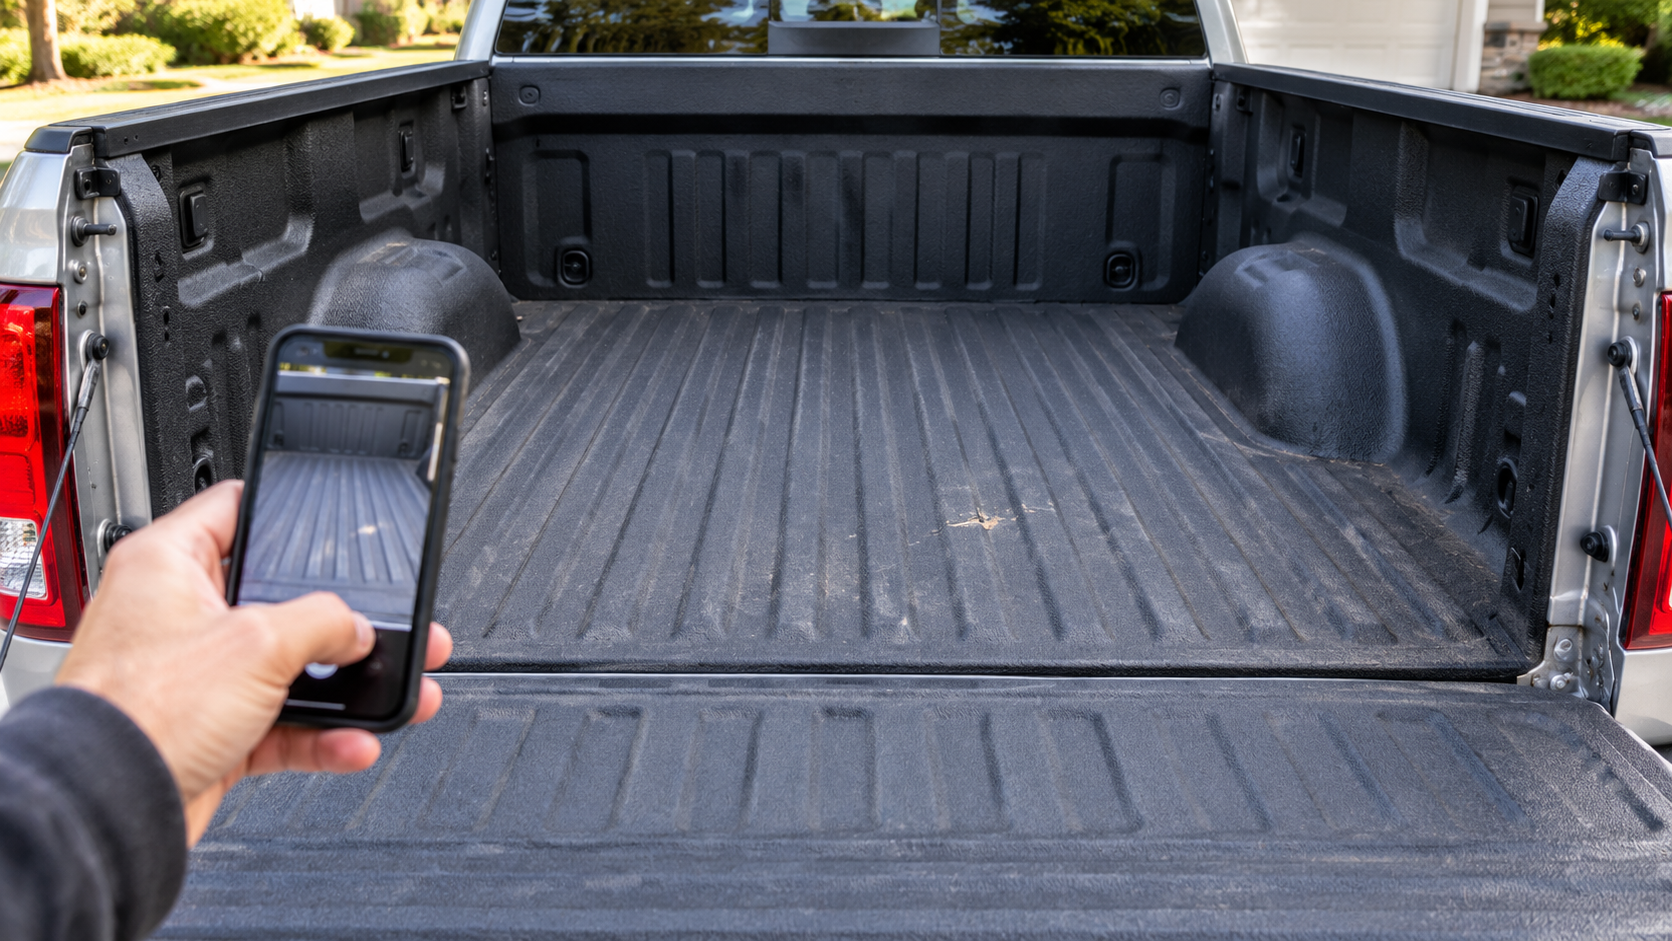
Start with an overall view from behind the truck, with the tailgate open if it is safe to do so. Add views toward each side and the front wall. Include the tailgate, bed rails, wheel housings and any accessories that obstruct the area needing attention.
These pictures establish location. A tight photograph of a dark patch is difficult to interpret when the estimator cannot tell whether it sits on the floor, beside a drain opening or along a tailgate edge. Remove loose cargo only when it is safe; tell the shop about anything you cannot move.
2. Give each affected area context and scale
For every area of concern, take three views:
- A wider image showing where it sits in the bed.
- A closer image showing the entire visible boundary.
- A detail image with a ruler beside the area, without pushing it under the coating.
Use even daylight where possible and avoid filters. Take another angle if glare hides the surface. Keep an unedited original, and make a separate marked copy if arrows help identify the concern. Label the images by location, such as “tailgate left edge,” rather than relying on the order your phone sends them.
Photograph lifting edges, exposed substrate, discoloration or visible corrosion as found. Do not pull loose coating, probe a bubble or sand the surface just to make the damage clearer. Ask the shop whether it wants cleaning before inspection.
3. Identify the coating and earlier work
Find the installation invoice, product name, application date and applicator’s details. Include any recorded topcoat, color or finish option. For a DIY installation, photograph the product labels and retain batch information, receipts and the instructions used. If the brand is unknown, say so rather than identifying it from texture alone.
Product identity matters because repair instructions are specific. For example, RAPTOR’s repair guidance describes preparation around a damaged area and distinguishes situations where bare metal has been exposed. Those instructions are not a universal recipe for every sprayed liner.
Add records of previous patches, recoating, body repairs or replacement panels. A short note explaining what was done and when is more useful than a guess about which layer is now visible.
4. Write a short, factual history
Record when you first noticed the change, whether it has grown, and whether it followed a known event. Useful details include cargo impacts, a spill, collision work or a previous repair. Name a spilled or cleaning product if known, and keep its label available.
Describe what you observed: “The edge began lifting last month” is clearer than declaring an adhesion failure. Include how the truck is used and whether it is a work vehicle. Avoid treating a photograph as proof of an application defect or a particular chemical reaction.
5. Gather warranty records separately
Keep the warranty certificate, original receipt and any registration confirmation together. LINE-X’s published warranty policy emphasizes proof of purchase and limits its stated spray-on truck-bedliner coverage to specified circumstances, including the original purchaser and qualifying personal, non-commercial use. Read the policy applicable to your installation and ask the provider to confirm eligibility.
A request for an estimate does not establish warranty coverage. Tell the shop whether you want a warranty review, a paid repair quotation, or both. When sending copies, remove unrelated payment details and other information the shop does not need, while preserving the purchase information required for its review.
6. Explain the result you want
State whether your priority is addressing one damaged area, improving overall appearance, or evaluating broader restoration. Manufacturers offer different types of work: LINE-X describes ReNew as an enhancement system for aging, faded or weathered liners. Its existence does not establish that recoating is suitable for your truck.
Ask the estimator to explain the proposed repair boundary, preparation, any underlying bodywork, expected texture or color differences, and when the truck can return to its intended use. Ask which assumptions could change after inspection. For wider budgeting context, see the site’s spray-on bedliner cost guide.
Send one organized set of photos, records and questions. Keep the shop’s written response with that set so you can compare the proposed work against what was actually inspected and discussed.